Getting sticky labels right
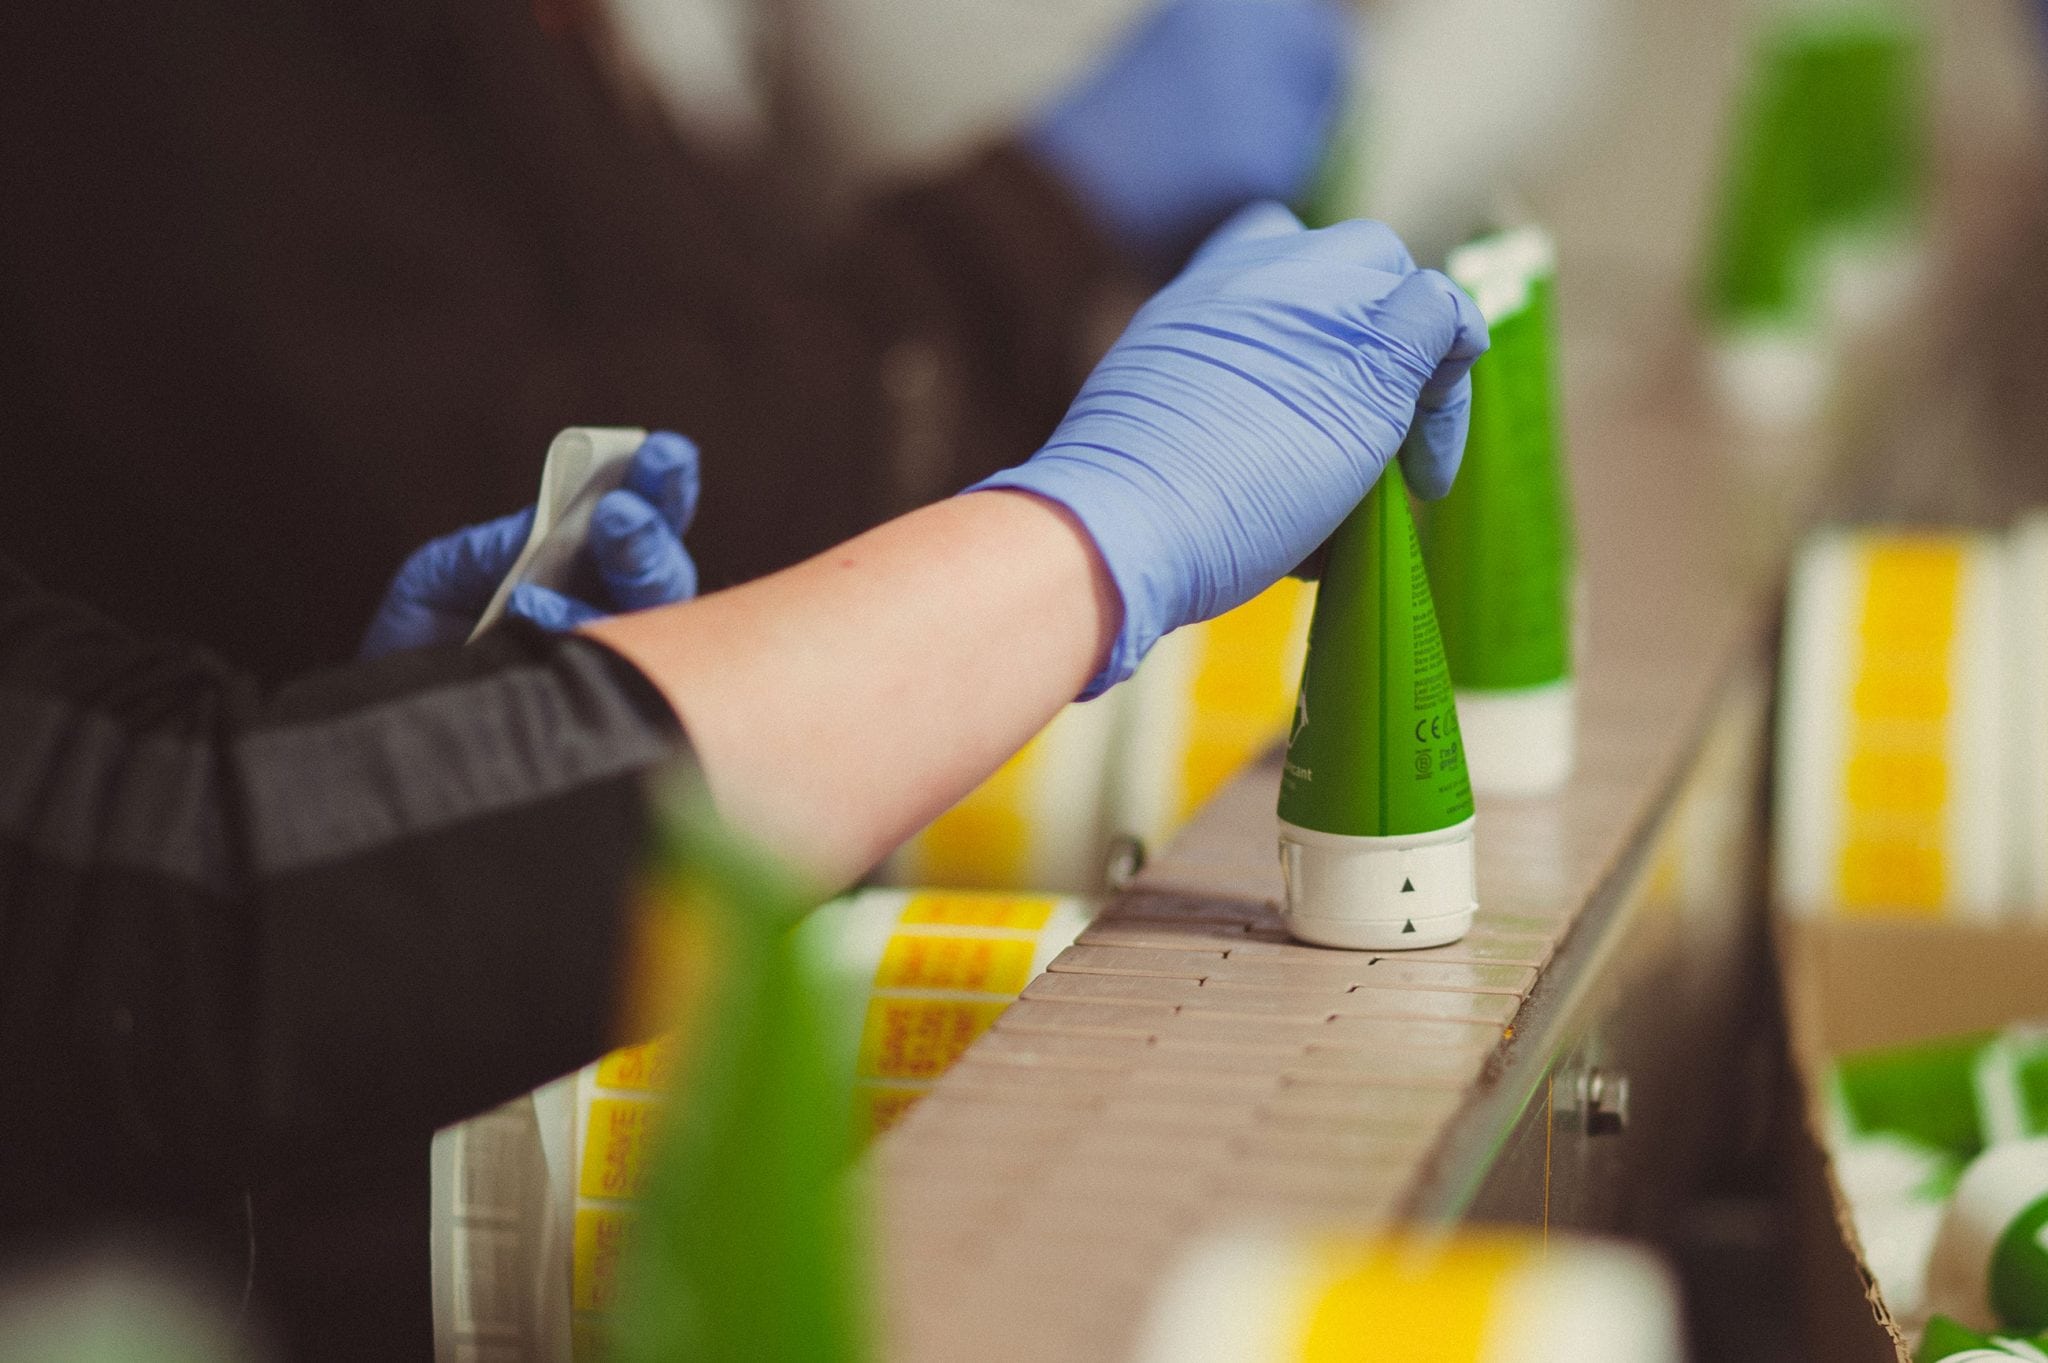
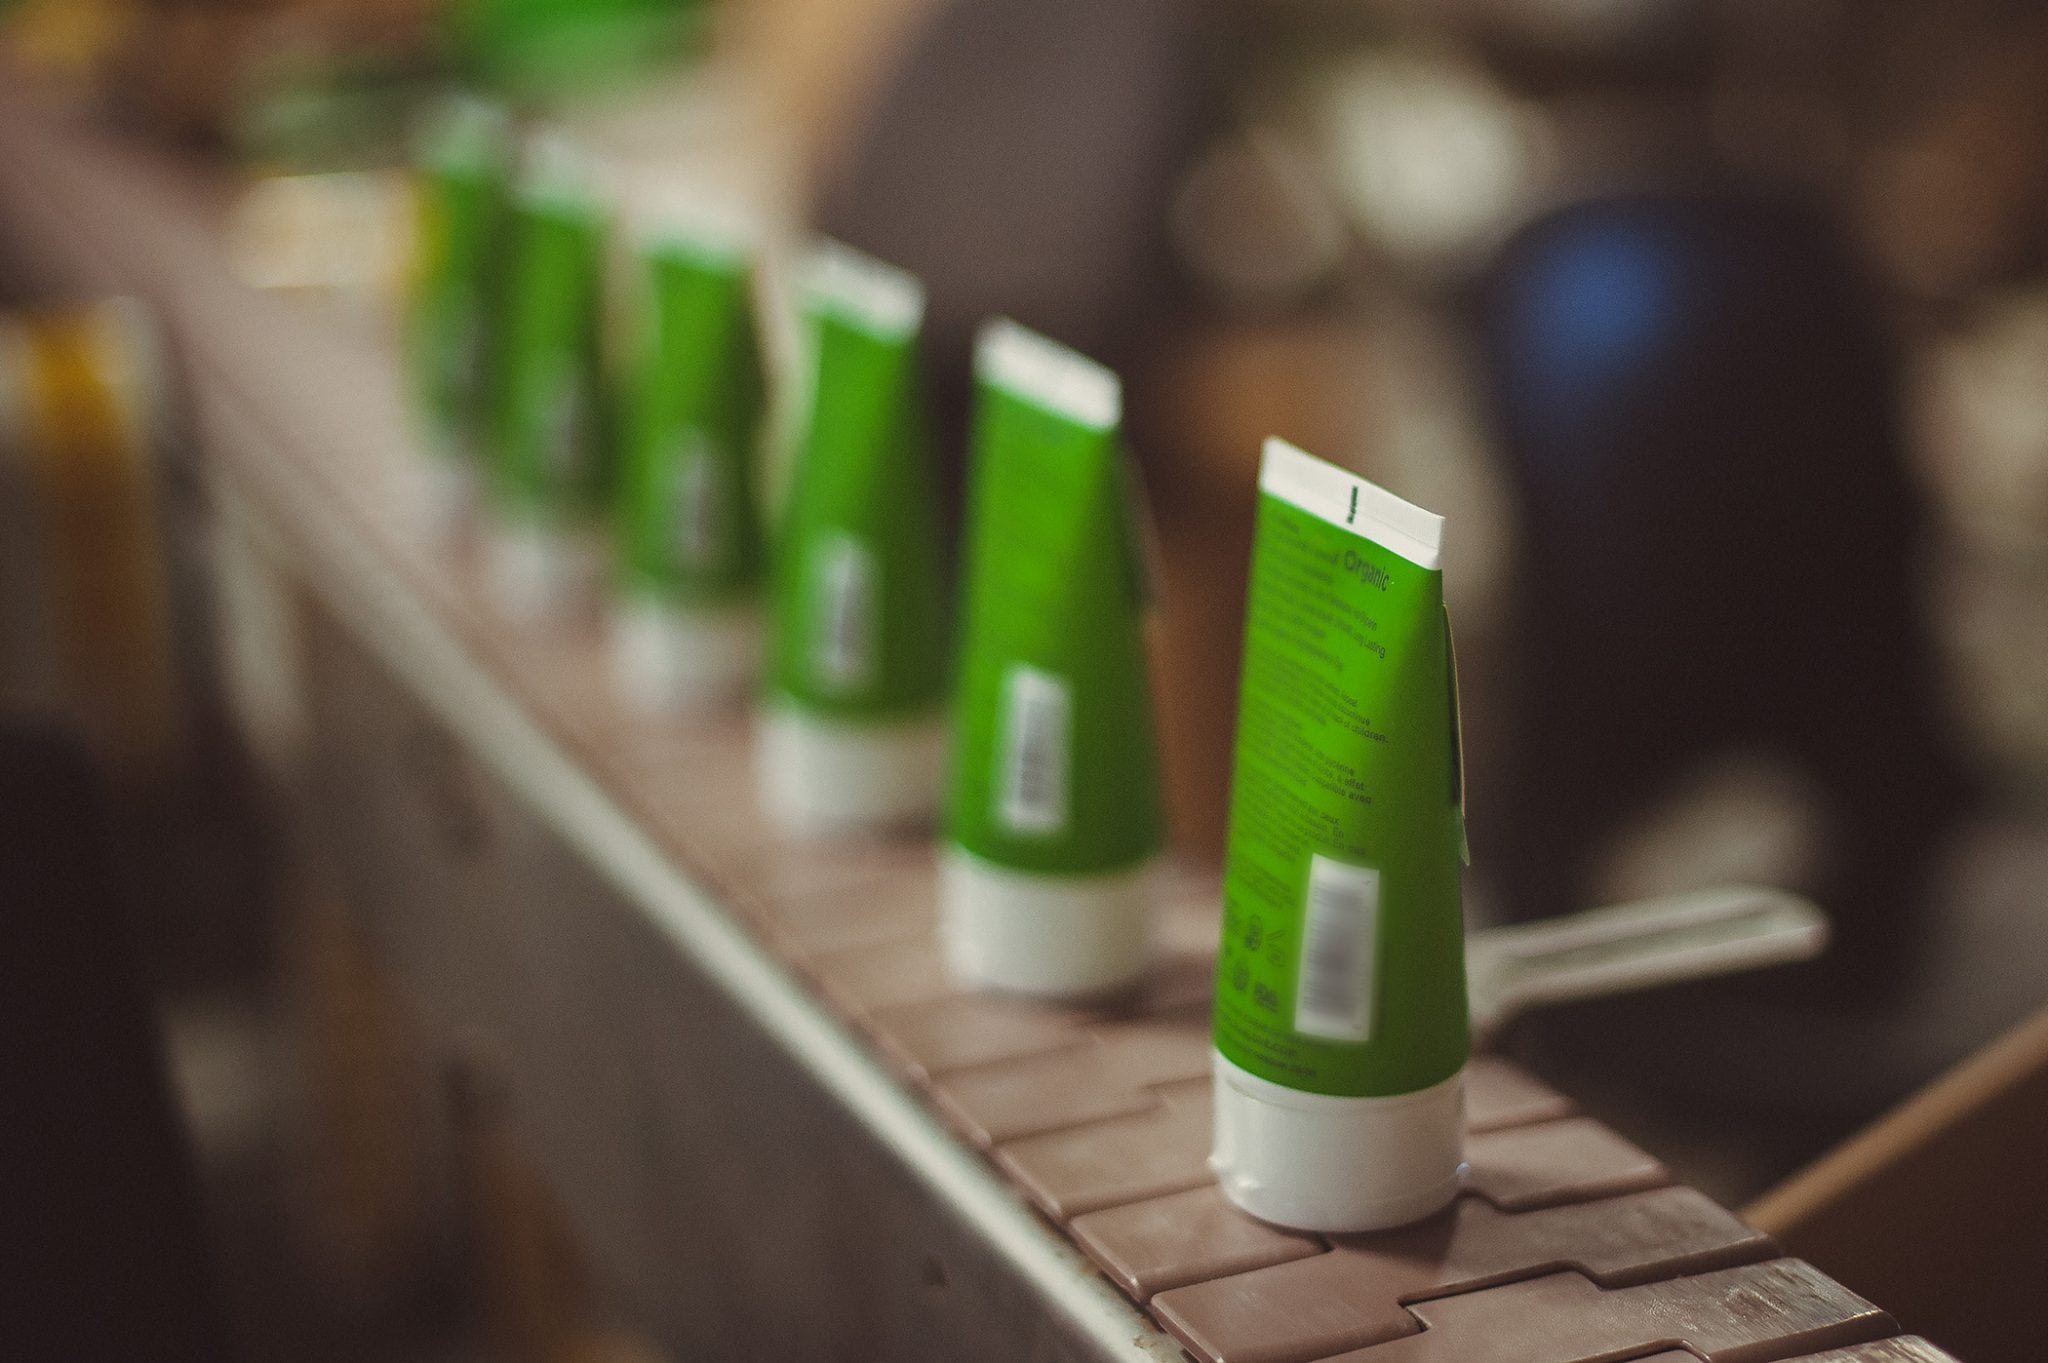
If you want that perfect package to product fit that screams quality to your customer and you plan to use sticky labels, then knowing how to make the perfect sticky label for your product container is essential. To do this you should know a few things about how automated labeling machinery works.
Here are some of the things you’ll learn in this 3 part article. This first part discusses how your label area should not contain any complex curves. In part 2, we list the different types of labels we can apply to your container and how to design a label shape that plays nicely with automated machinery. Finally, in part 3, we discuss the material and conditions by which you should manufacture your labels in order to keep rework and scrap rates low.
Selecting Your Product’s Container
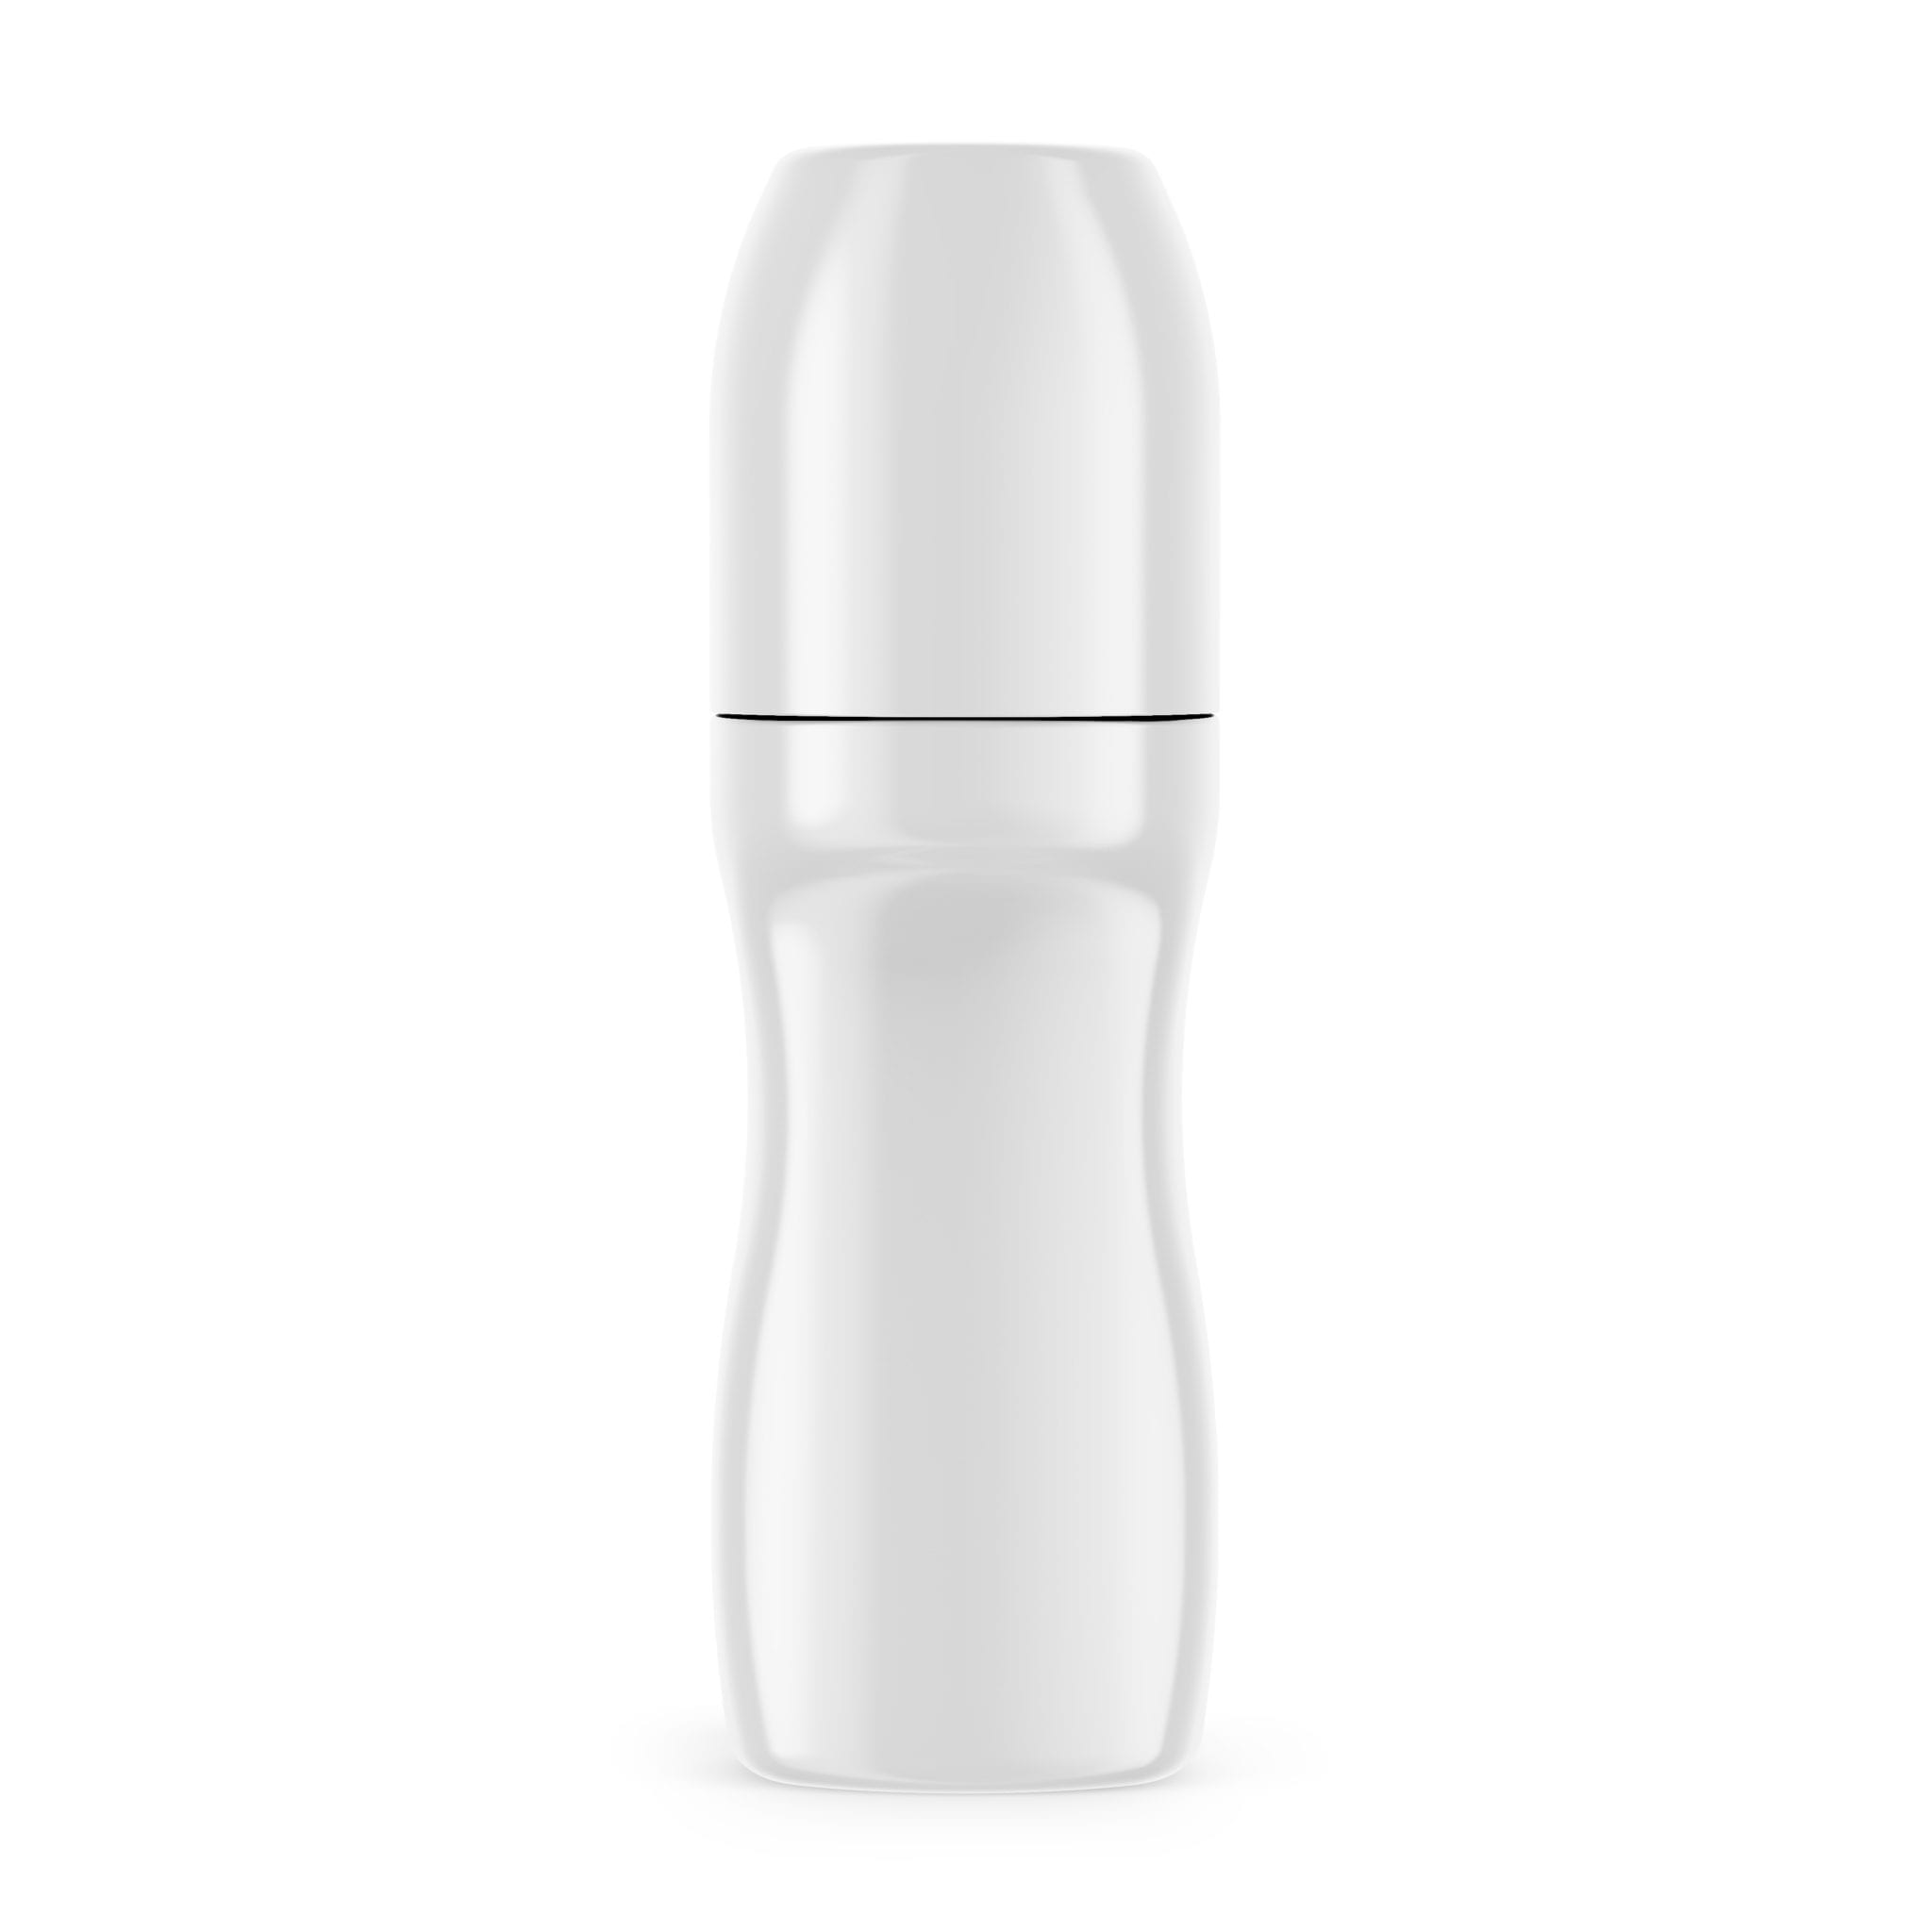
Where the label goes on your personal care product’s container and how that area is shaped is an important consideration when choosing containers. Many containers have something we call complex curves. Complex curves exist where concave or convex angles or planes intersect on the container. This is especially concerning when it happens in the labeling area of the container. An example of a container with complex curves in the labeling area is the deodorant bottle pictured to the left.
Picture Left: The deodorant bottle pictured has complex curves in the labeling area beneath the cap. Interestingly, there is a small area on the lower cap area that would work with a wrap-around label.
Why curves in the labeling area are a problem
A label likes to follow the direction of a curve as it is being applied by an automated labeling machine. When multiple curves meet on a container in the labeling area then the label must negotiate and compromise its continuity between the curves. This situation typically results in crooked, pinched, broken, non-applied, or wrinkled labels. The sharper the angle between intersecting curves, the greater the likelihood of misapplying a label. However, this also means there are some cases where labels can be applied in areas where multiple curves meet.
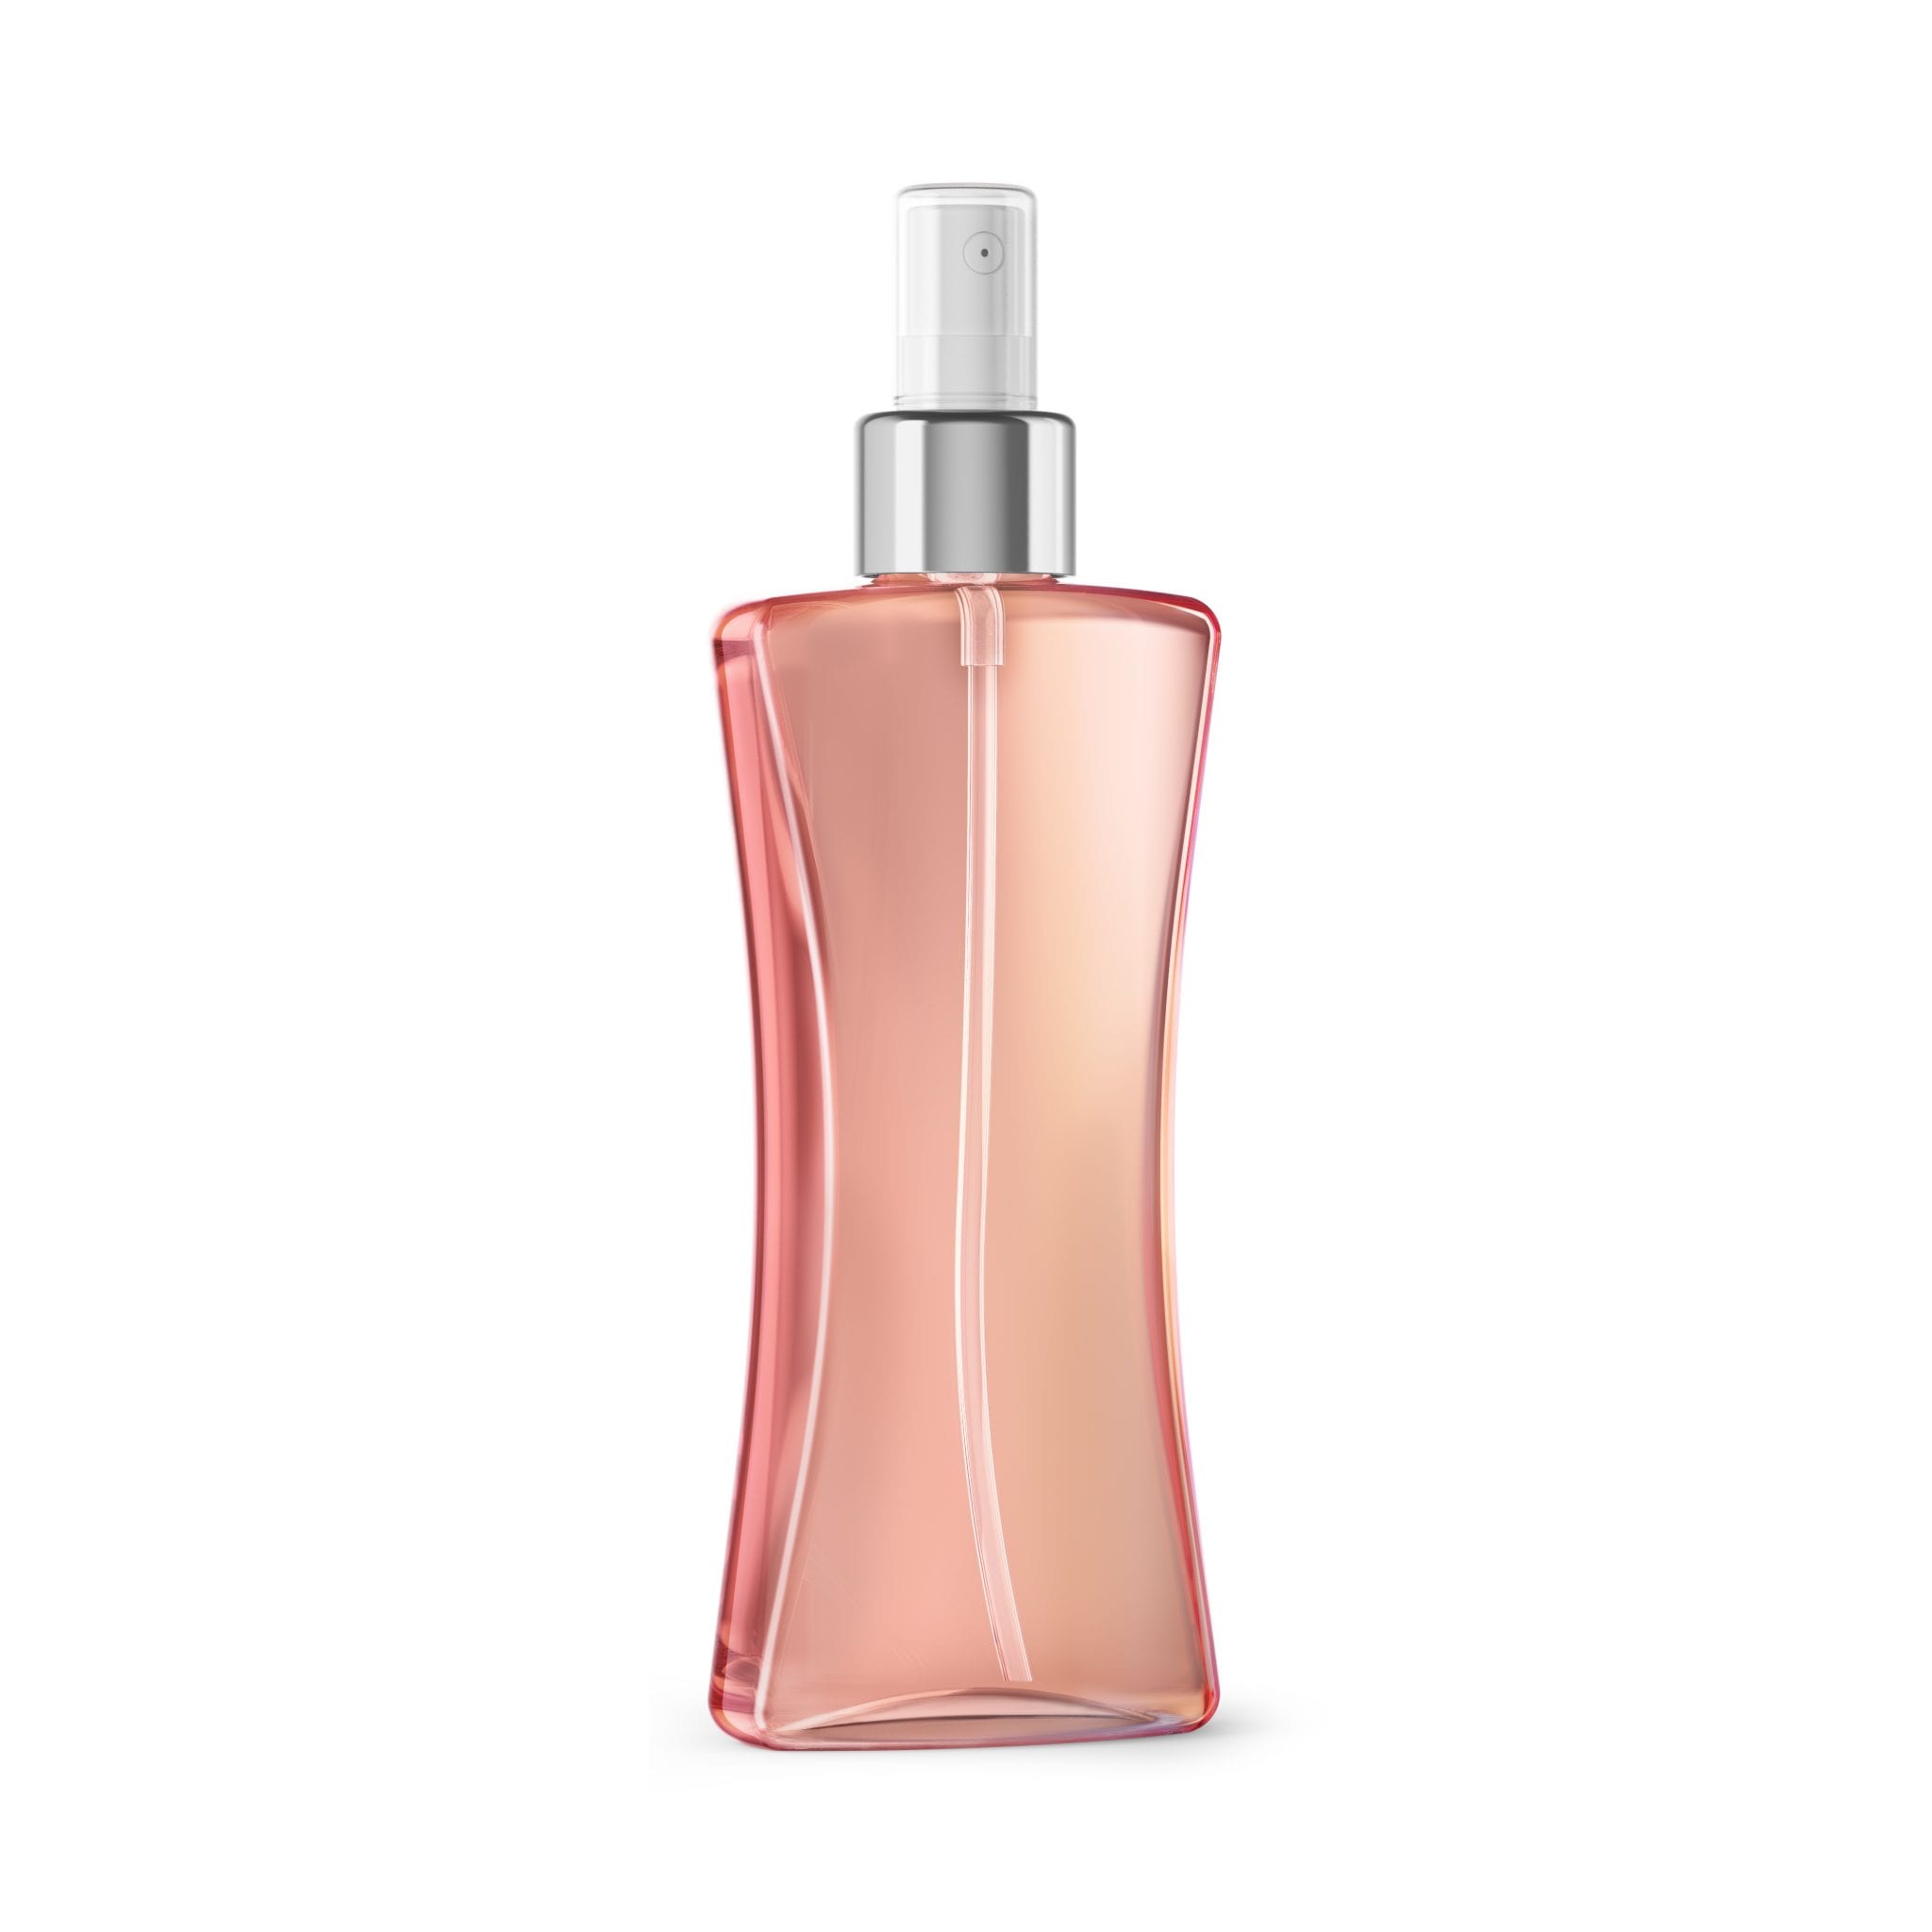
Putting the principle to work in an example
The container to the left has an hourglass design but it’s depth (base) is rectangular shaped. Consequently, this container has complex curves, but only on the sides and not on the front and back facing areas. This container would be an ideal candidate for a front-back label (discussed in the part 2), but not a wrap-around label. Even though the front face is slightly curved, this isn’t a problem. Labels don’t mind following a curve; they just don’t like trying to follow multiple curves.
CONCLUSION
If you’re thinking to yourself, “So my container just needs a flat space (curved plane) for the label,” then you are not far from the mark. However, whenever the plane of the label area is intersected with another curve (or plane), new complications tend to arise. BPI Labs always tries to complete a test on your bottle’s label so that you can have the certainty that comes from a test. Before you go, you should look at label shape and material in part 2 of this article to see why those variables are so critical.
Our Blogs
Part 2: Choosing an Organic Standard
How an organic cert. was made for personal care Previously discussed was the USDA NOP’s organic standard and the...
Part 1: Choosing an Organic Standard
Organic certification can be tricky Choosing the right organic standard for your market and brand can be the...
Certify Your Personal Care Product as Organic
Introduction As consumer demands for organically certified personal care product rises, it might be time to think...
